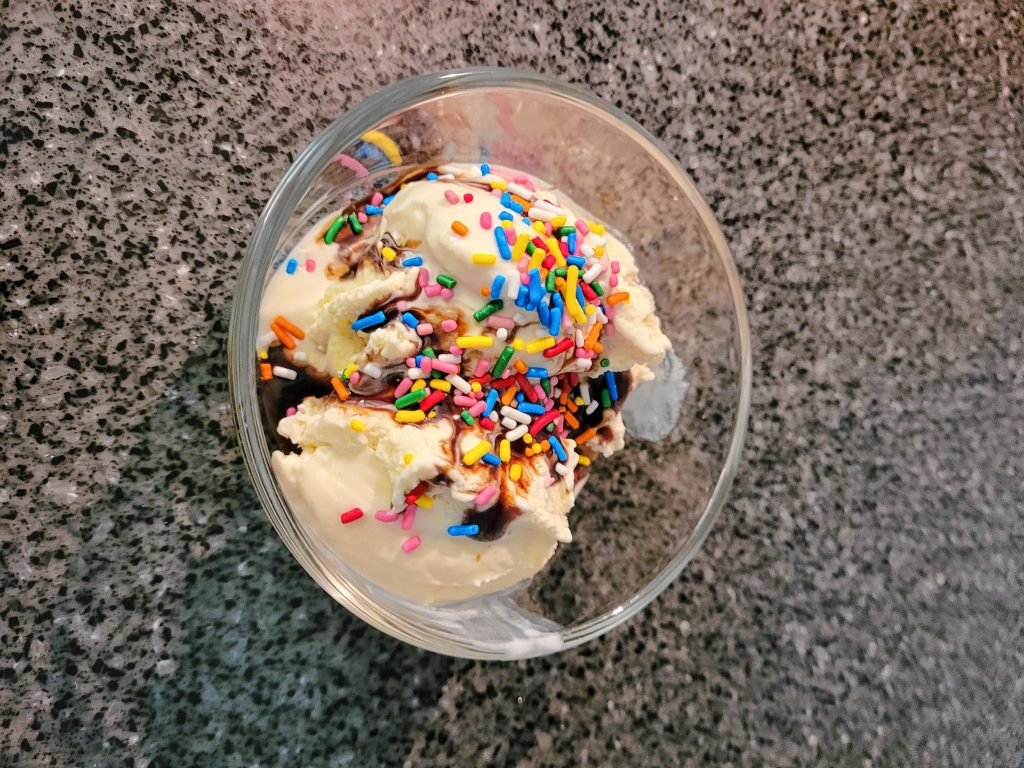
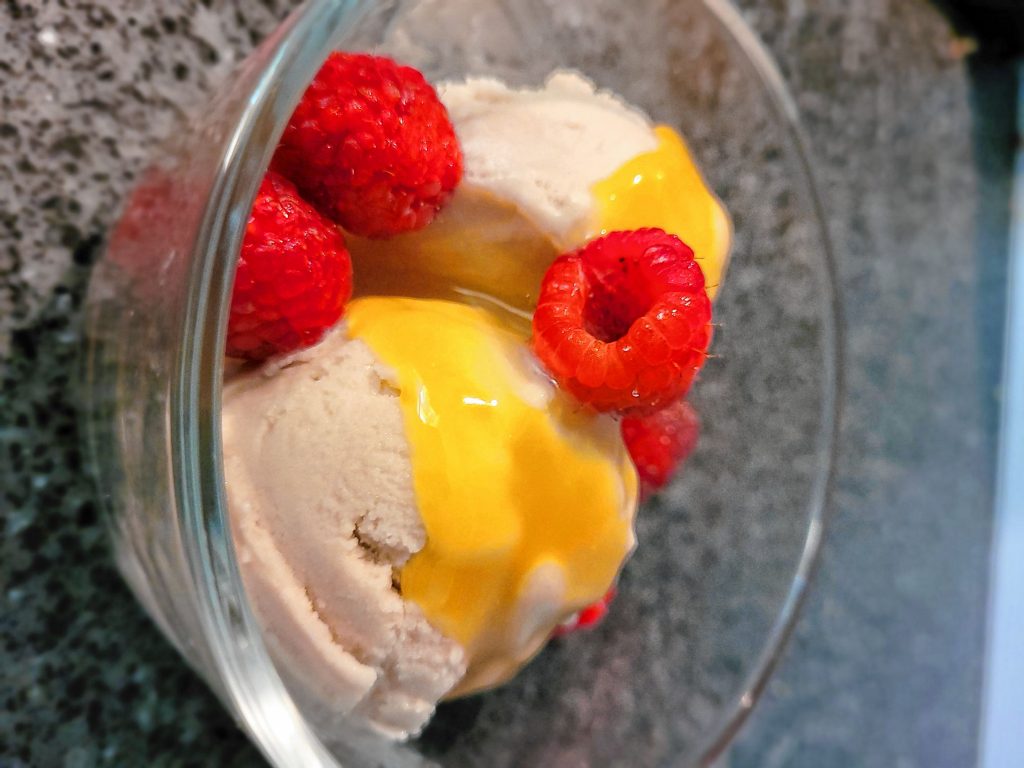
If you’re in the mood for ice cream now, stop reading this and go look at capital area ice cream stands (page 8). If you want ice cream and are willing to invest a fair bit of time into making it yourself, carry on.
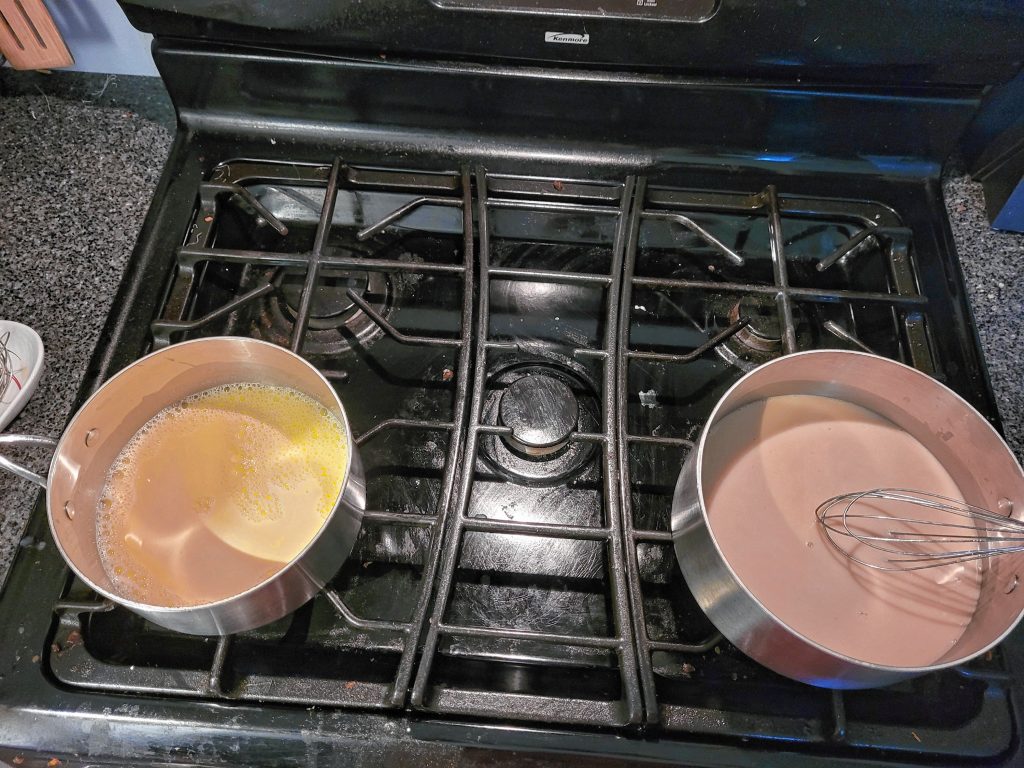
Aside from the time component, making ice cream isn’t too challenging. Over the weekend I tried two recipes: a traditional Vanilla Ice Cream from the Betty Crocker cookbook and a vegan Vanilla ice cream recipe by Emma Christensen on thekitchn.com. While the ingredients differ, the process of creating them are relatively the same.
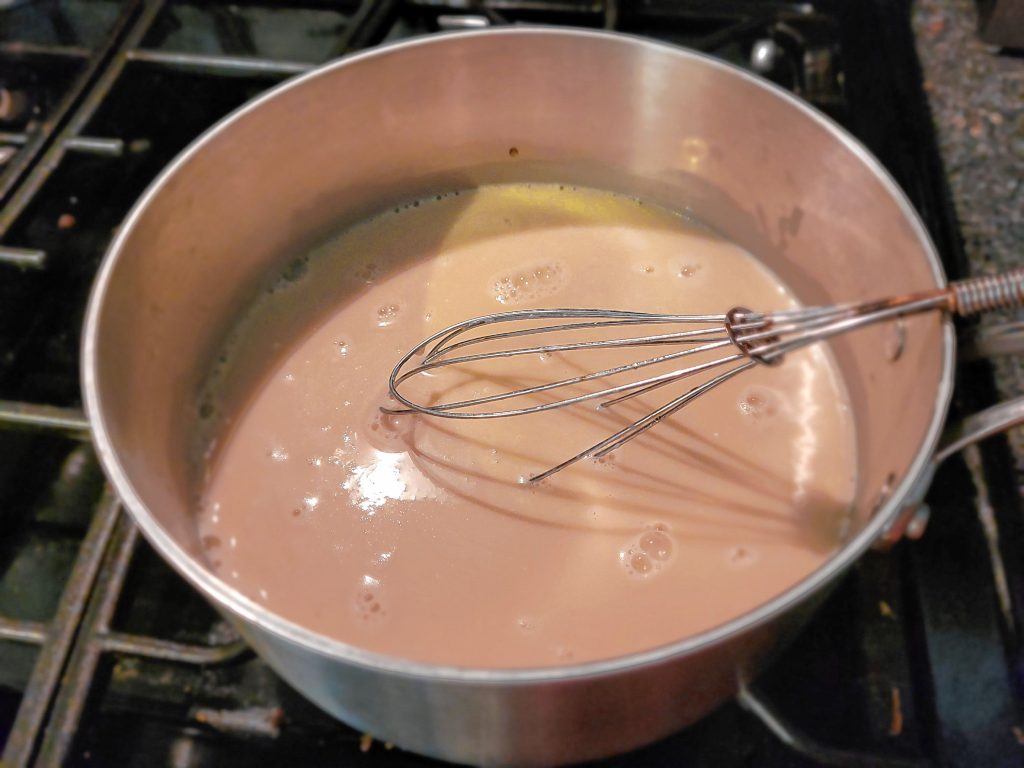
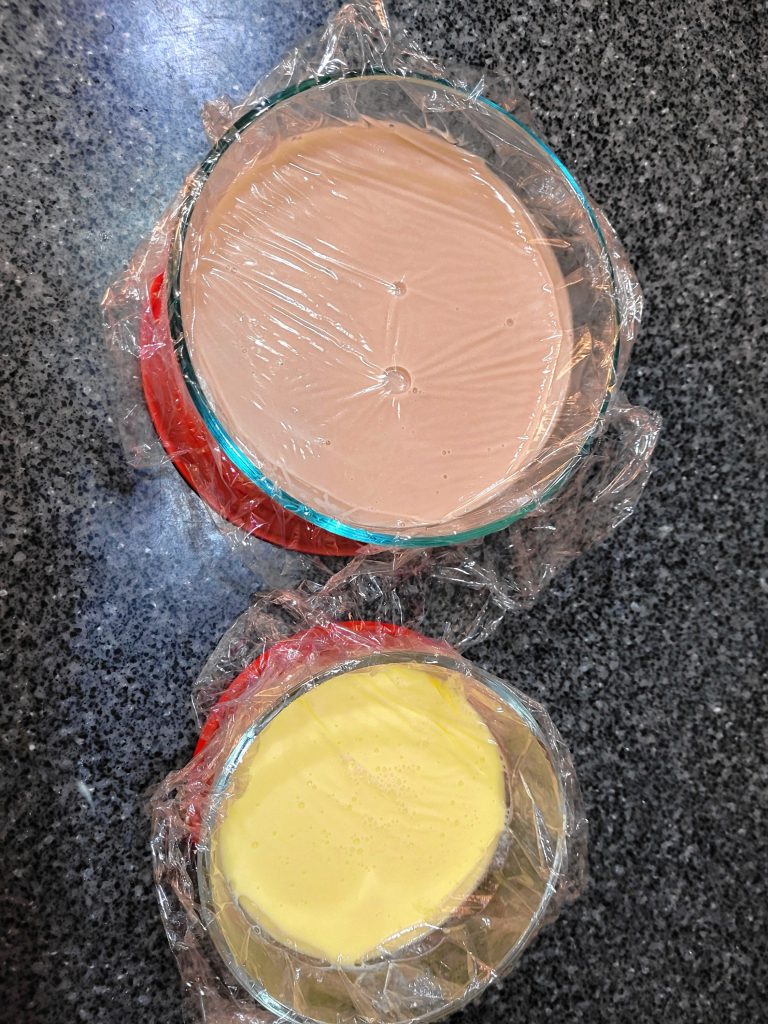
For both, you’ll heat your base to dissolve a sweetner in your liquid and thicken it. Then, it has to chill (I left it in the fridge overnight).
How long it takes to churn and chill will depend on what kind of ice cream machine you are using.
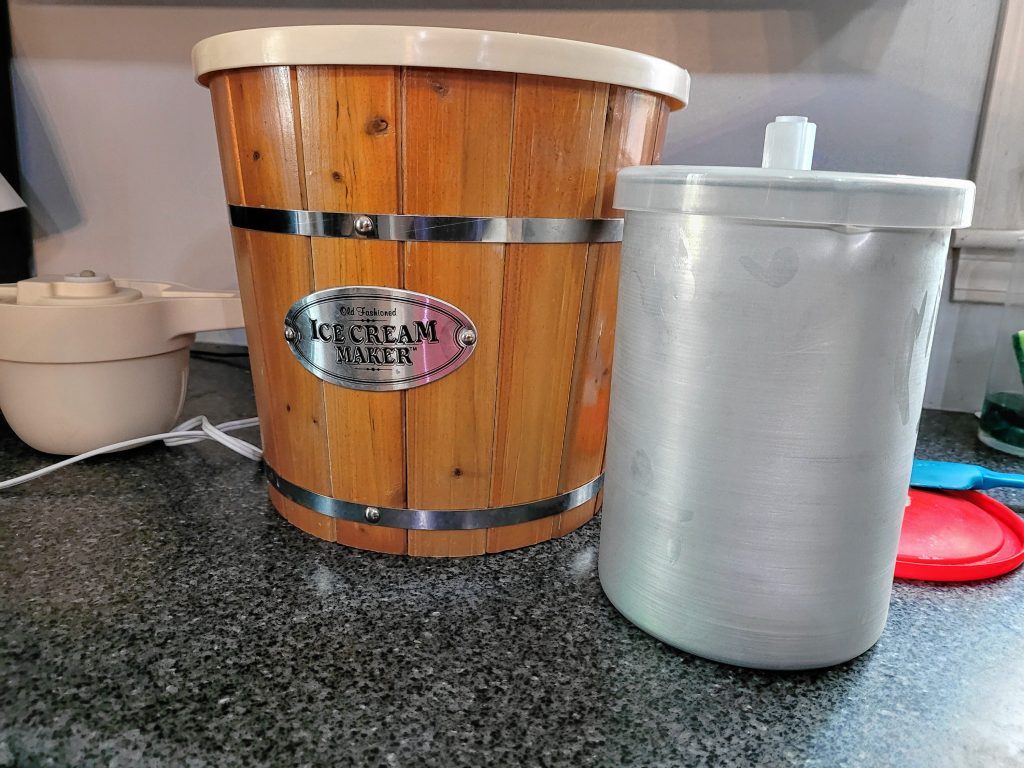
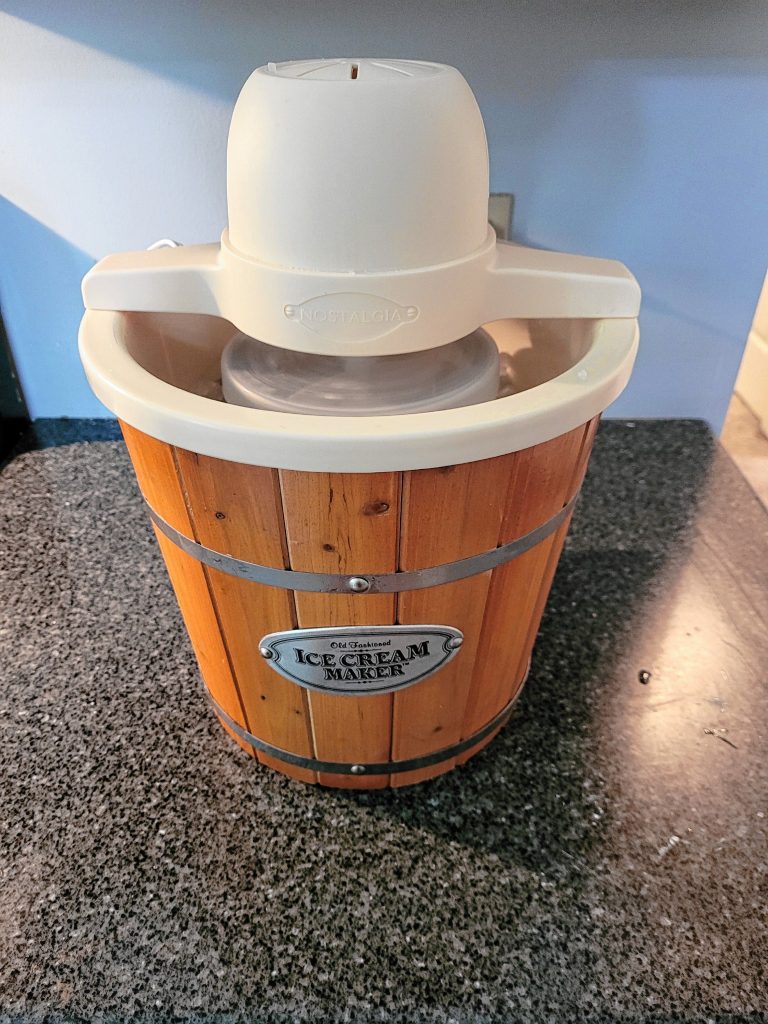
I had a Nostalgia brand bucket-style electric churn. The manufacturer’s say to make sure the inner metal bucket is cold before churning, so I put that in the freezer overnight to prepare.
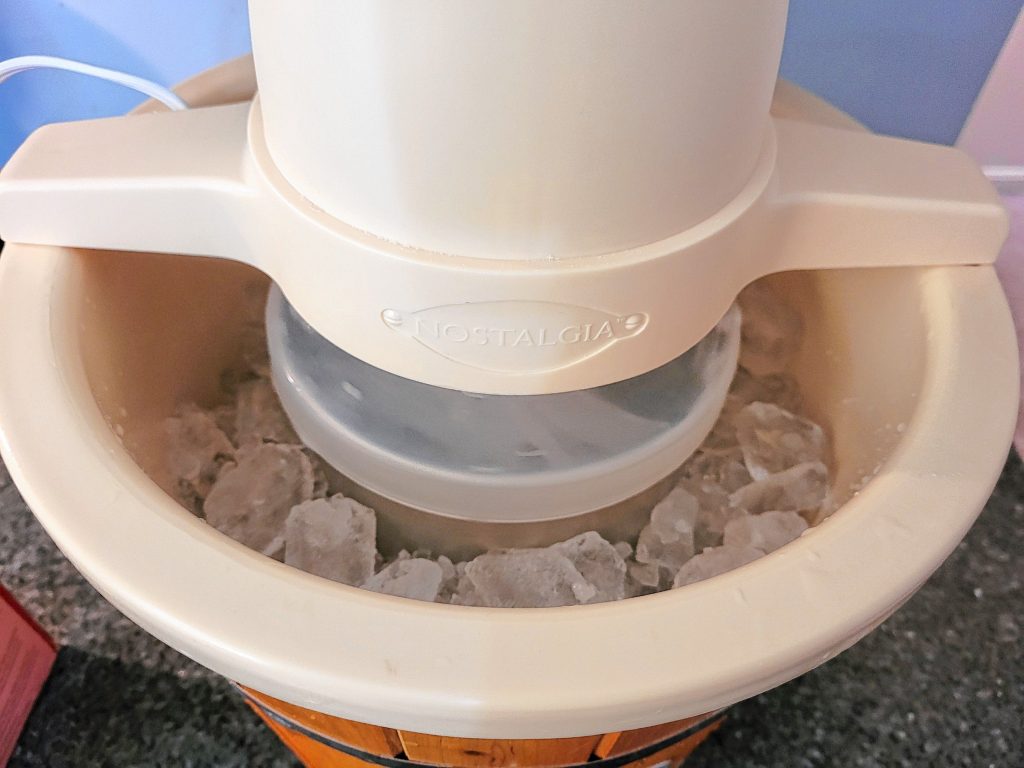
To churn, that bucket is covered with a lid and placed inside the larger churn, which is then filled with layers of ice cubes and rock salt (other salt works too).
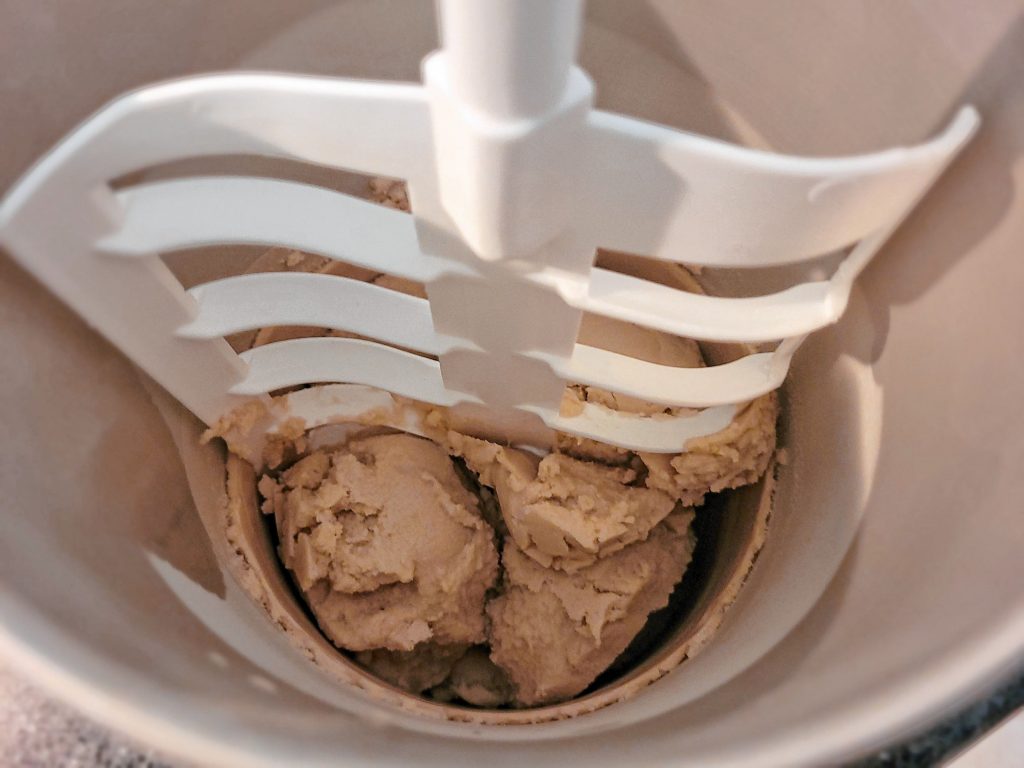
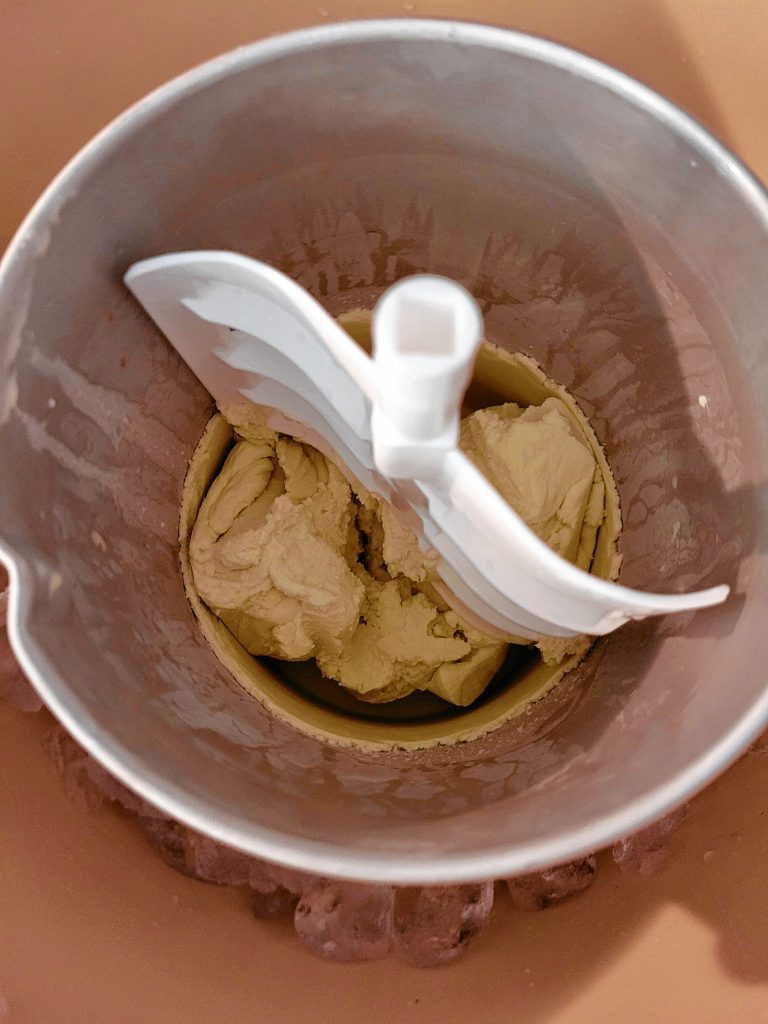
The electric motor spins the bucket and paddle for about 30 minutes to cream the ice cream base liquid.
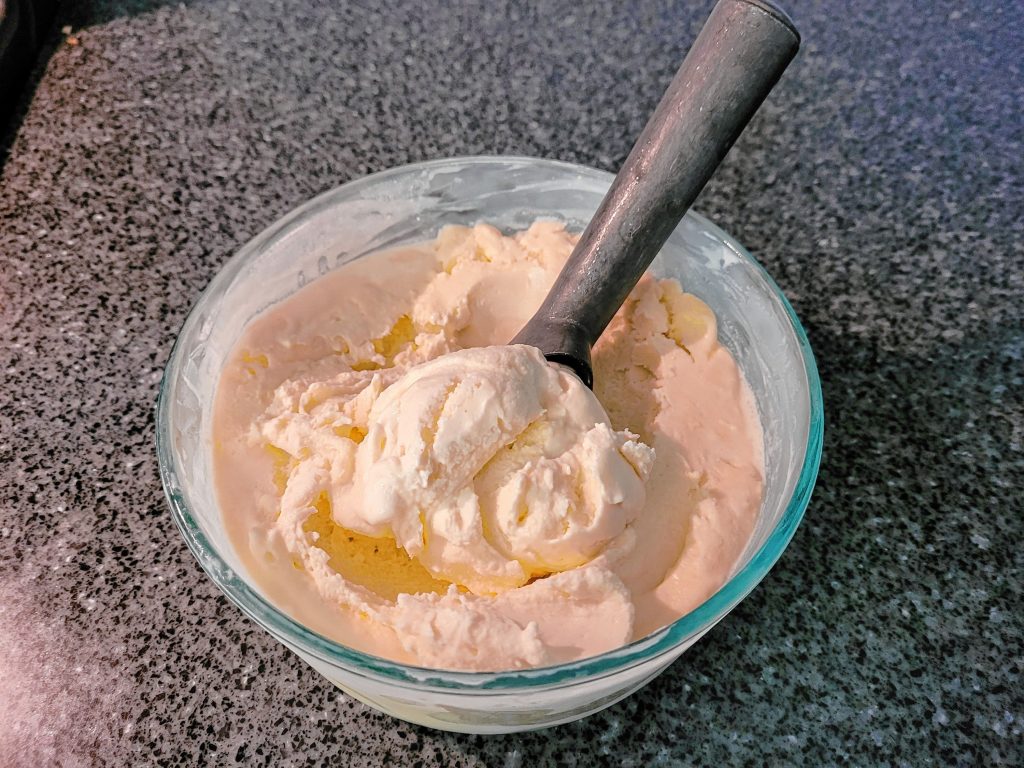
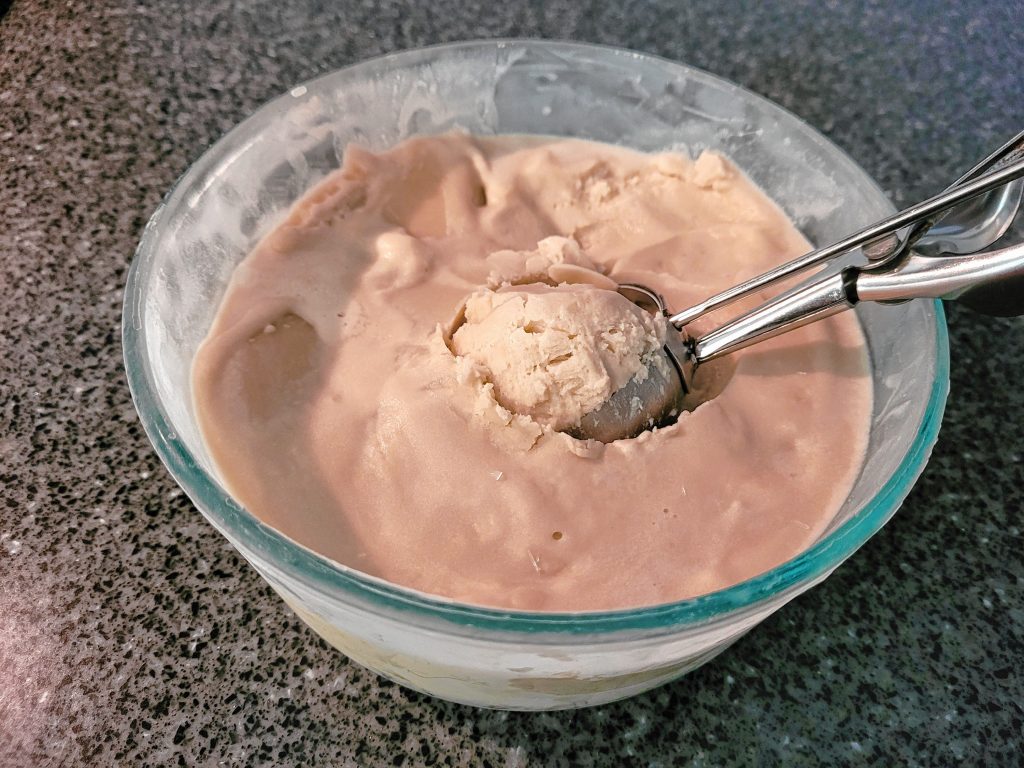
At this point, I found the texture to be similar to soft serve, but after a couple of hours setting up in the freezer, its very similar to commercial ice cream.
Here’s a look at the recipes I used:
Vanilla Ice Cream
3 egg yolks, lightly beaten
½ cup sugar
1 cup milk
¼ teaspoon salt
2 cups whipping cream
1 tablespoon vanilla
In a saucepan, on medium heat, stir yolks, sugar, milk and salt until well mixed. Heat, stirring regularly to keep eggs from scrambling, until the mixture just comes to a boil then remove from the stove.
Pour milk mixture into cold bowl and refrigerate for at least 2 to 3 hours, or up to 24 hours.
Once chilled, add vanilla and whipping cream to milk mixture and churn in your ice cream maker following the directions that come with your appliance.
Vegan Ice Cream
2 (13- to 15-ounce) cans full-fat coconut milk
½ cup sweetener, such as agave syrup, maple syrup, honey, turbinado sugar, or cane sugar
¼ teaspoon salt
2 tablespoons cornstarch, or 1 tablespoon arrowroot starch
1½ teaspoons vanilla extract
Shake the cans of coconut milk to combine the water and fats. Measure out ½ cup of coconut milk and set aside.
Combine the remaining coconut milk, sweetener and salt in a saucepan and heat over meadium heat until sweetener is dissolved, about 1 to 2 minutes. (I used maple syrup.)
In the separated ½ cup of coconut milk, whisk in the corn starch. Then add to the heated mixture.
Continue to heat and stir the mixture until it thickens slightly, but don’t let the base boil.
When you remove from the heat, add vanilla and pour in to a shallow container to cool, first on the counter, then in the refrigerator, about four hours, or up to three days.
After chilling, churn in your ice cream machine according to the directions for about 20 minutes.
Put into a freezer safe container and freeze for about four hours before serving.
Note: Since this recipe uses only coconut milk (some others use a mix of coconut and almond or cashew milk) the coconut taste is pretty strong. I used maple syrup as the sweetener in my mix and that taste comes across pretty strong too. The maple syrup also makes the ice cream more of a light brown color rather than a traditional off-white vanilla color. Other sweeteners probably won’t have that problem.
Both ice creams had good taste and firmed up quite solid after a couple hours in the freezer.
While it was about 24 hours from start to finish, the work is largely left to the freezer. There is about 20 minutes hands-on time for cooking the base and a half-hour for churning, the rest is largely waiting. So if you have the patience to wait, you may want to try your hand at making your own ice cream.

